A lot of things have happened in the past few weeks in the Ethereum ecosystem, so many that it might be hard for a casual observer to understand where we are and what’s available out there. So I would like to use my first post here to give you an overview of the tools we’ve built and how you can use them to build interesting things right now.
But first a short introduction: I am Alex Van de Sande and I am the lead designer on the Ethereum foundation. At DevconOne I gave a talk entitled “The Blockchain Versus The Average User” where I went into more details on the challenges to bringing the Ethereum ecosystem to the aforementioned “Average User”, one of which is the difficulty of defining what that term even means. When personal computers were introduced they were advertised as being “to the rest of us”, but the “rest of us” public they targeted was actually a very narrow audience interested in word processing, spreadsheets and desktop publishing. Today, those would be considered among the top tier geeks, just below the kinds of people that still fight over the merits of Vim versus emacs. I truly believe that one day your Candy-crush-playing grandma/grandpa will use the blockchain, just like today he/she uses databases and https connections without realising it (maybe when they convert blue diamonds won on one game into cows in another game by some other publisher). But right now, what I’m working on is bringing it to that next tier of users, the ones that can download an office suite and figure out how to use a spreadsheet but don’t feel comfortable around command lines.
So if you consider yourself in that group, then welcome we’ll guide you to some basic activities you can do in a few minutes in ethereum: Build your own cryptocurrency, building your own democracy and creating a central bank in the blockchain. We skipped the “Hello World” tutorial this time, but you’ll do fine.
Download the Ethereum Wallet
Download the latest version of the Wallet
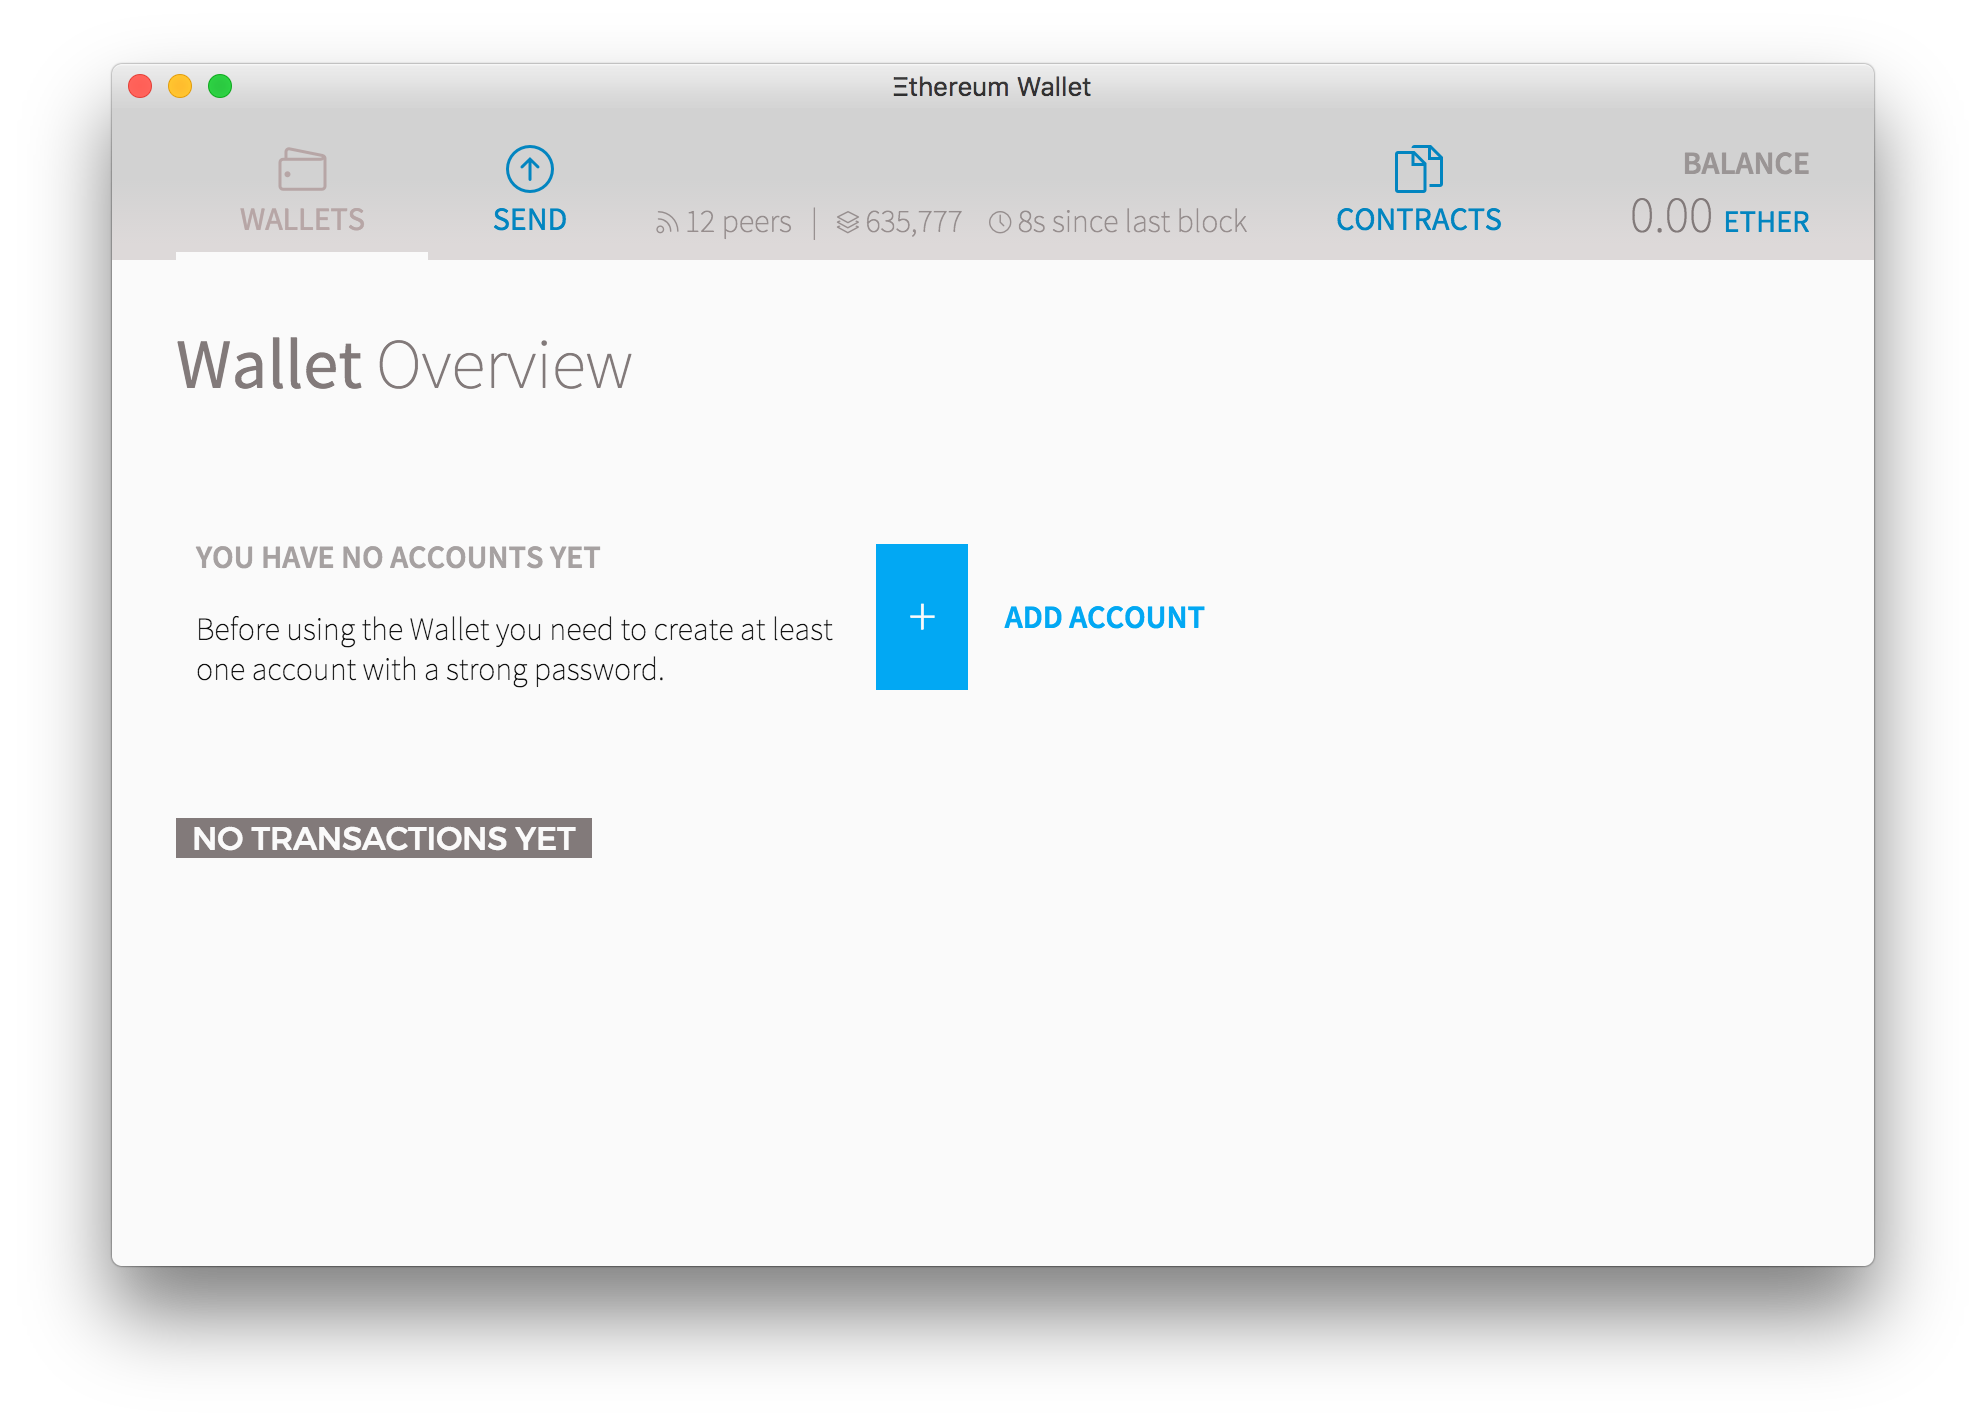
But enough talking, let’s get our hands dirty with Ethereum! I might be biased but I’d say the best place to start is the Ethereum Wallet, a multi platform app that will enable you to send ether and ethereum based currencies, create and execute contracts.
The first thing you have to do on it is create an ethereum account. All you need for it is a strong password and you’ll get it. In order to do anything you’ll need to put in some ether: but don’t worry you don’t need much. Most of the contracts here will cost less than a tenth of a US penny. If you are just testing it, we recommend you switch to the testnet: go in the menu develop > network > testnet (morden) and then on develop > start mining. After a few minutes you’ll probably have enough ether to test anything, so you can turn it off and save your computer resources.
The wallet only allows basic mining on the testnet, but if you want to try your luck on the real net, then you need a more advanced tool. This used to be a cumbersome process but now there are better easier tools: and we have new tools that will make that process much easier.
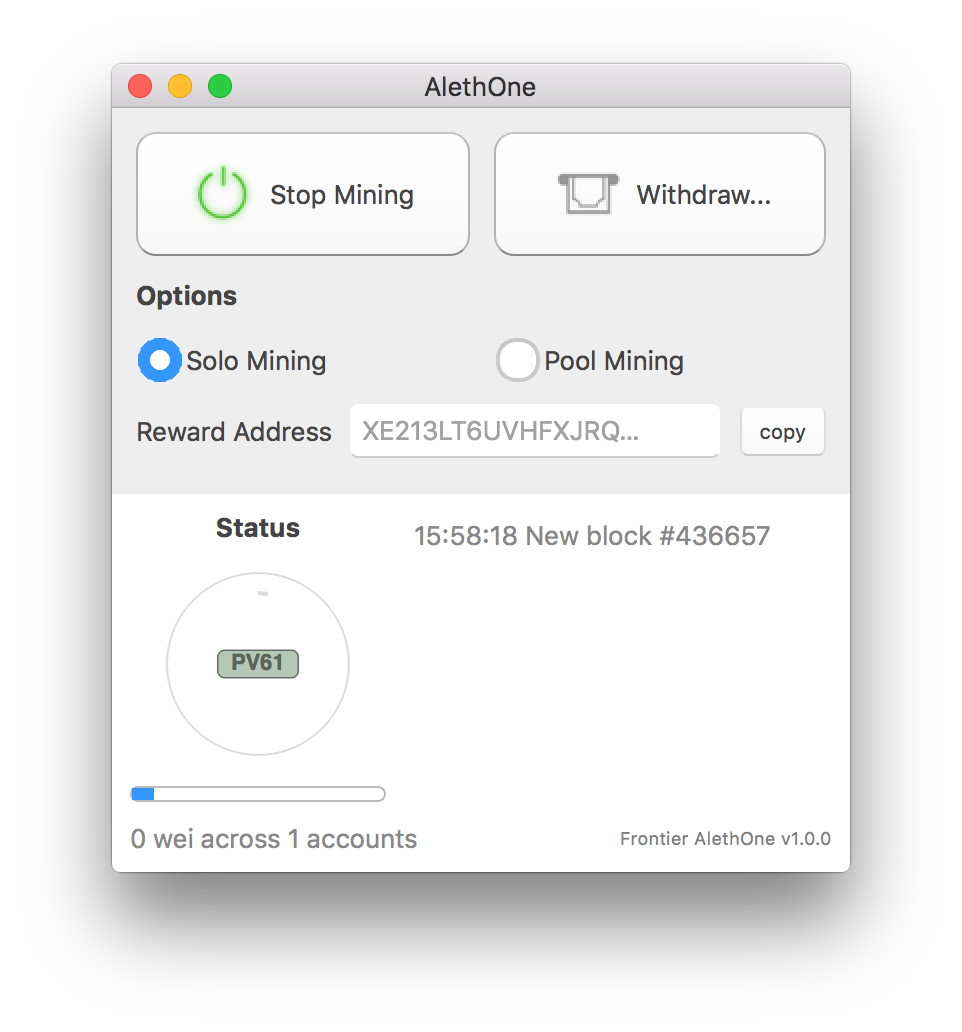
The AlethOne miner is a straightforward tool with two buttons: press one to start mining in your GPU and press the other to deposit your rewards in a wallet. Download it from the Turbo Suite, a set of power tools created by the C++ team to develop ethereum applications.
If you want to create smart contracts on the live network and can’t mine you’ll need some ethers. You can have a friend sent to you or you can exchange it for bitcoins on a cryptoexchange. If you are a bitcoin fan we suggest you keep on eye on the btcrelay project, a fraud-proof sidechain that will launch soon and allow quick exchanges between ether and bitcoin without a third party.
Create a token
The first contract we are going to create is a token. Tokens in the ethereum ecosystem can represent any fungible tradable good: coins, loyalty points, gold certificates, IOUs, in game items, etc. Since all tokens implement some basic features in a standard way, this also means that your token will be instantly compatible with the ethereum wallet and any other client or contract that uses the same standards.
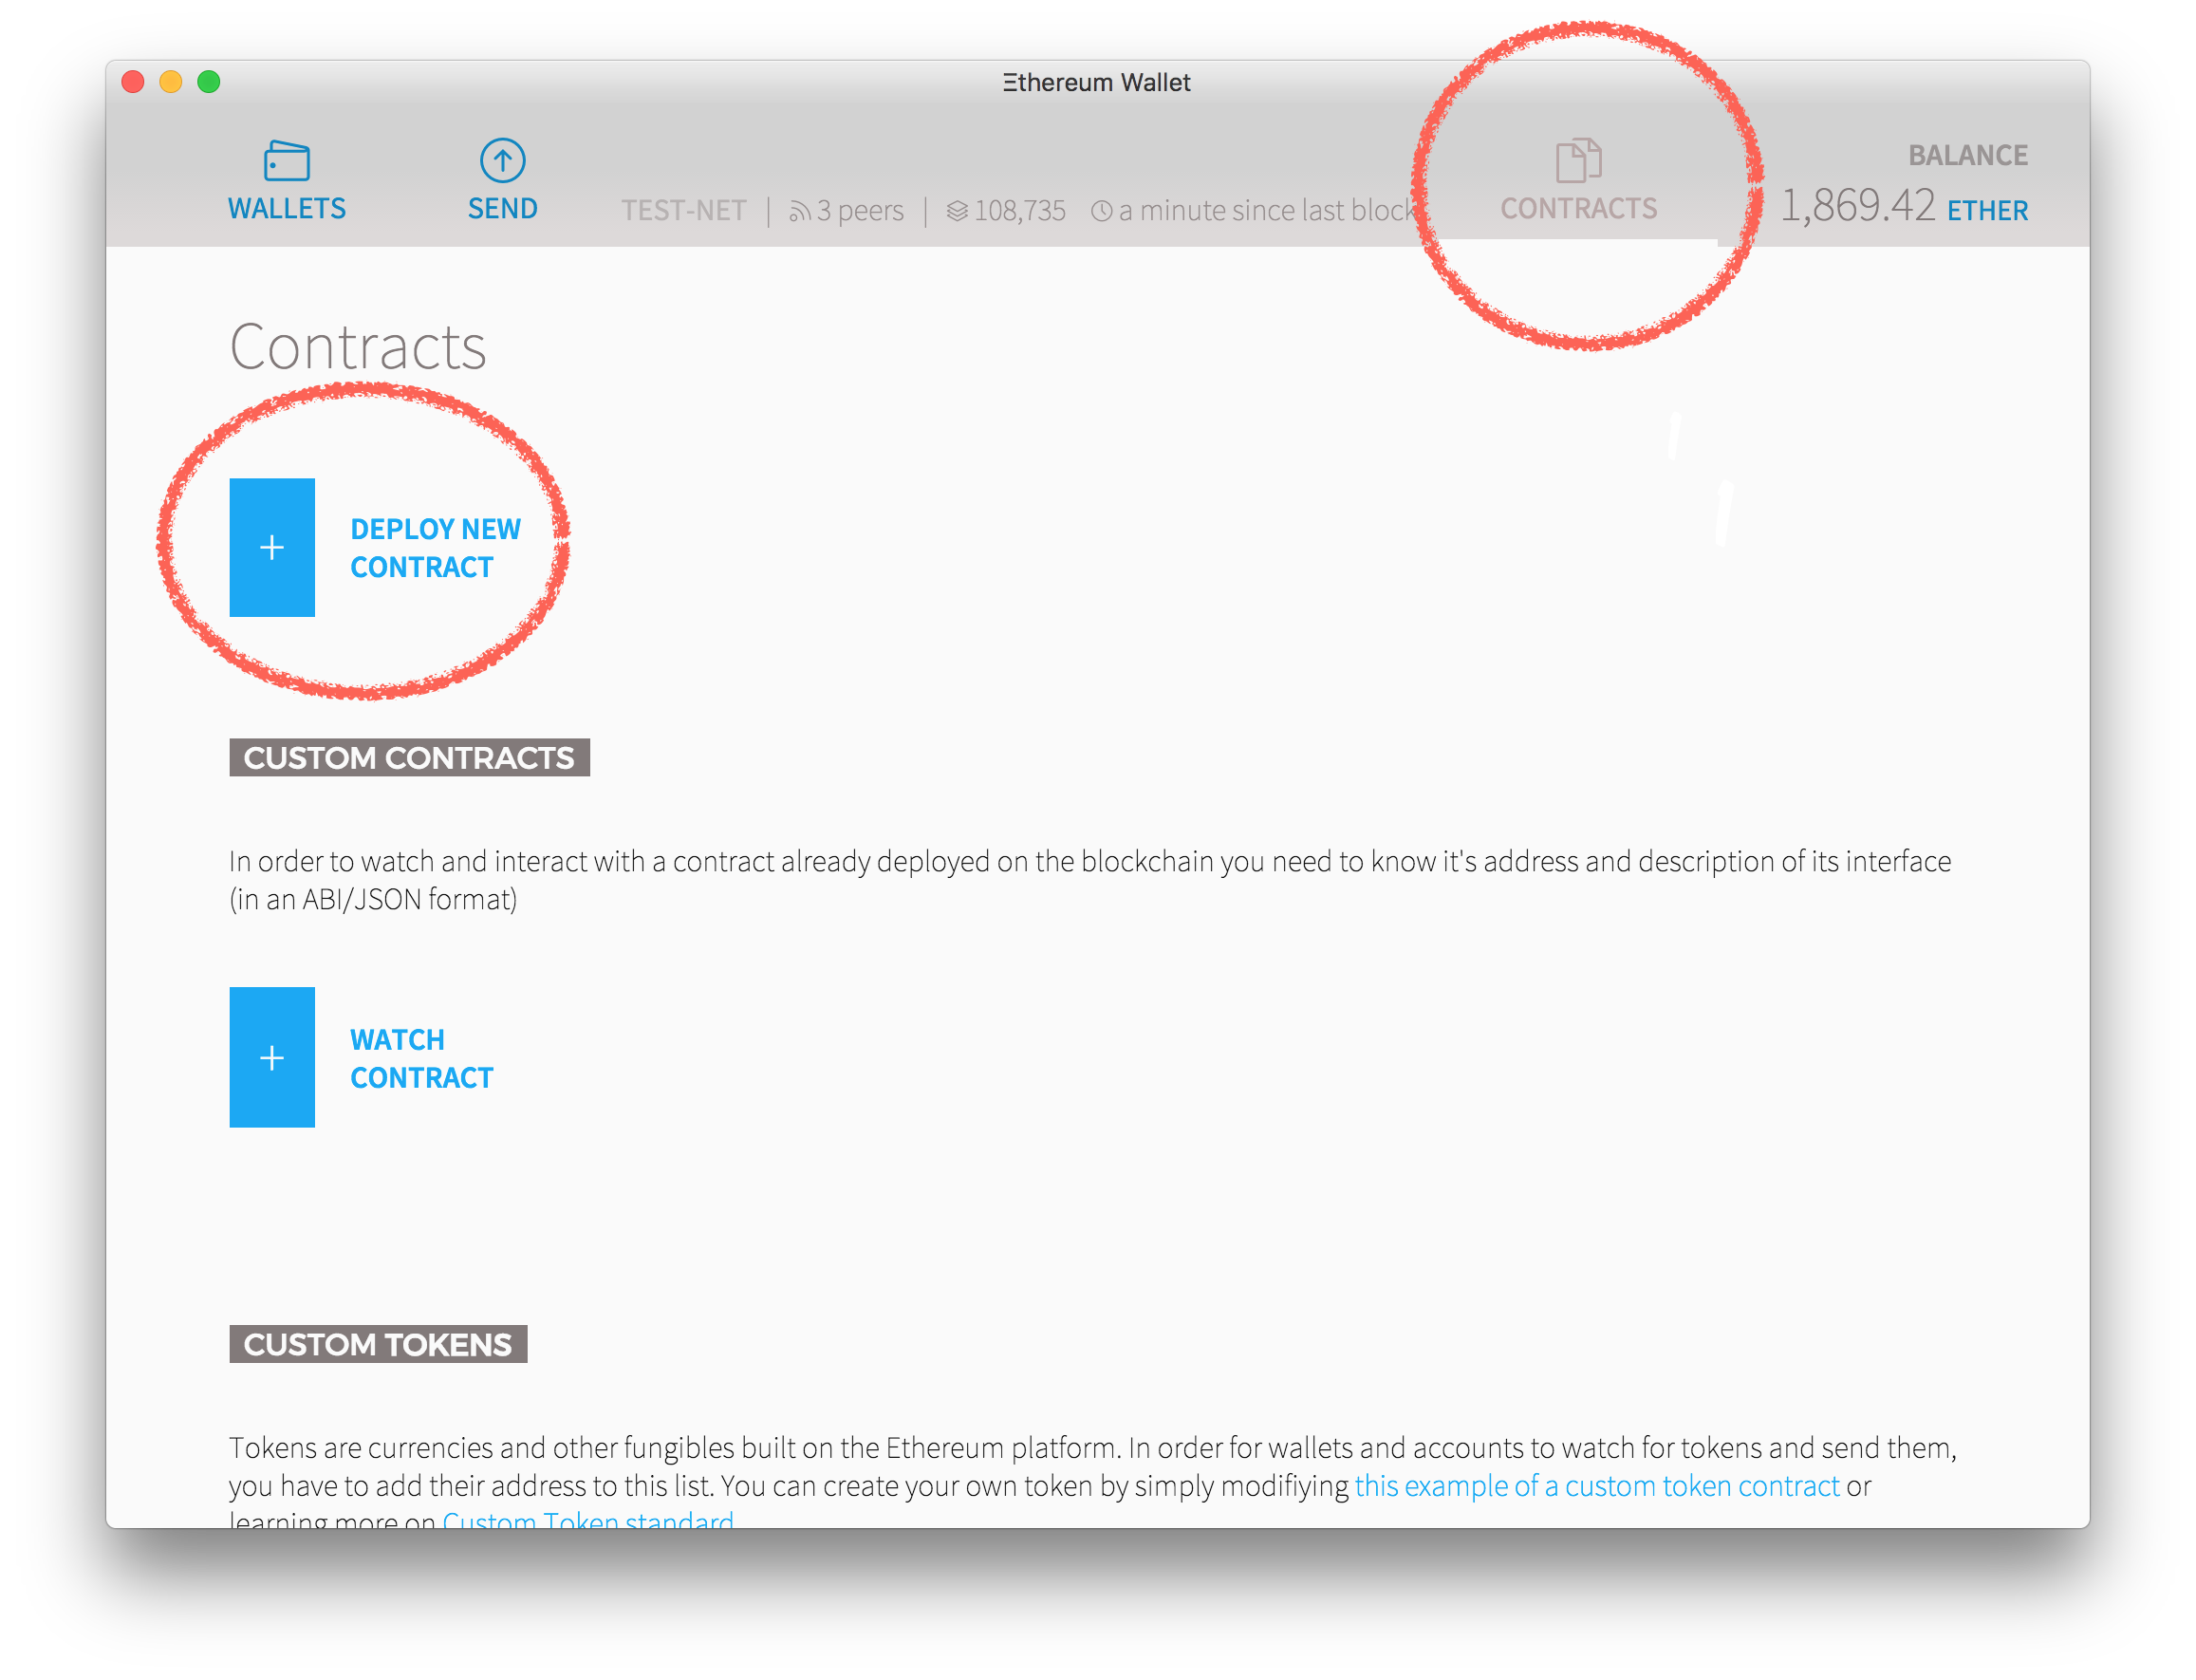
Go to the contracts page and then click “deploy new contract”.
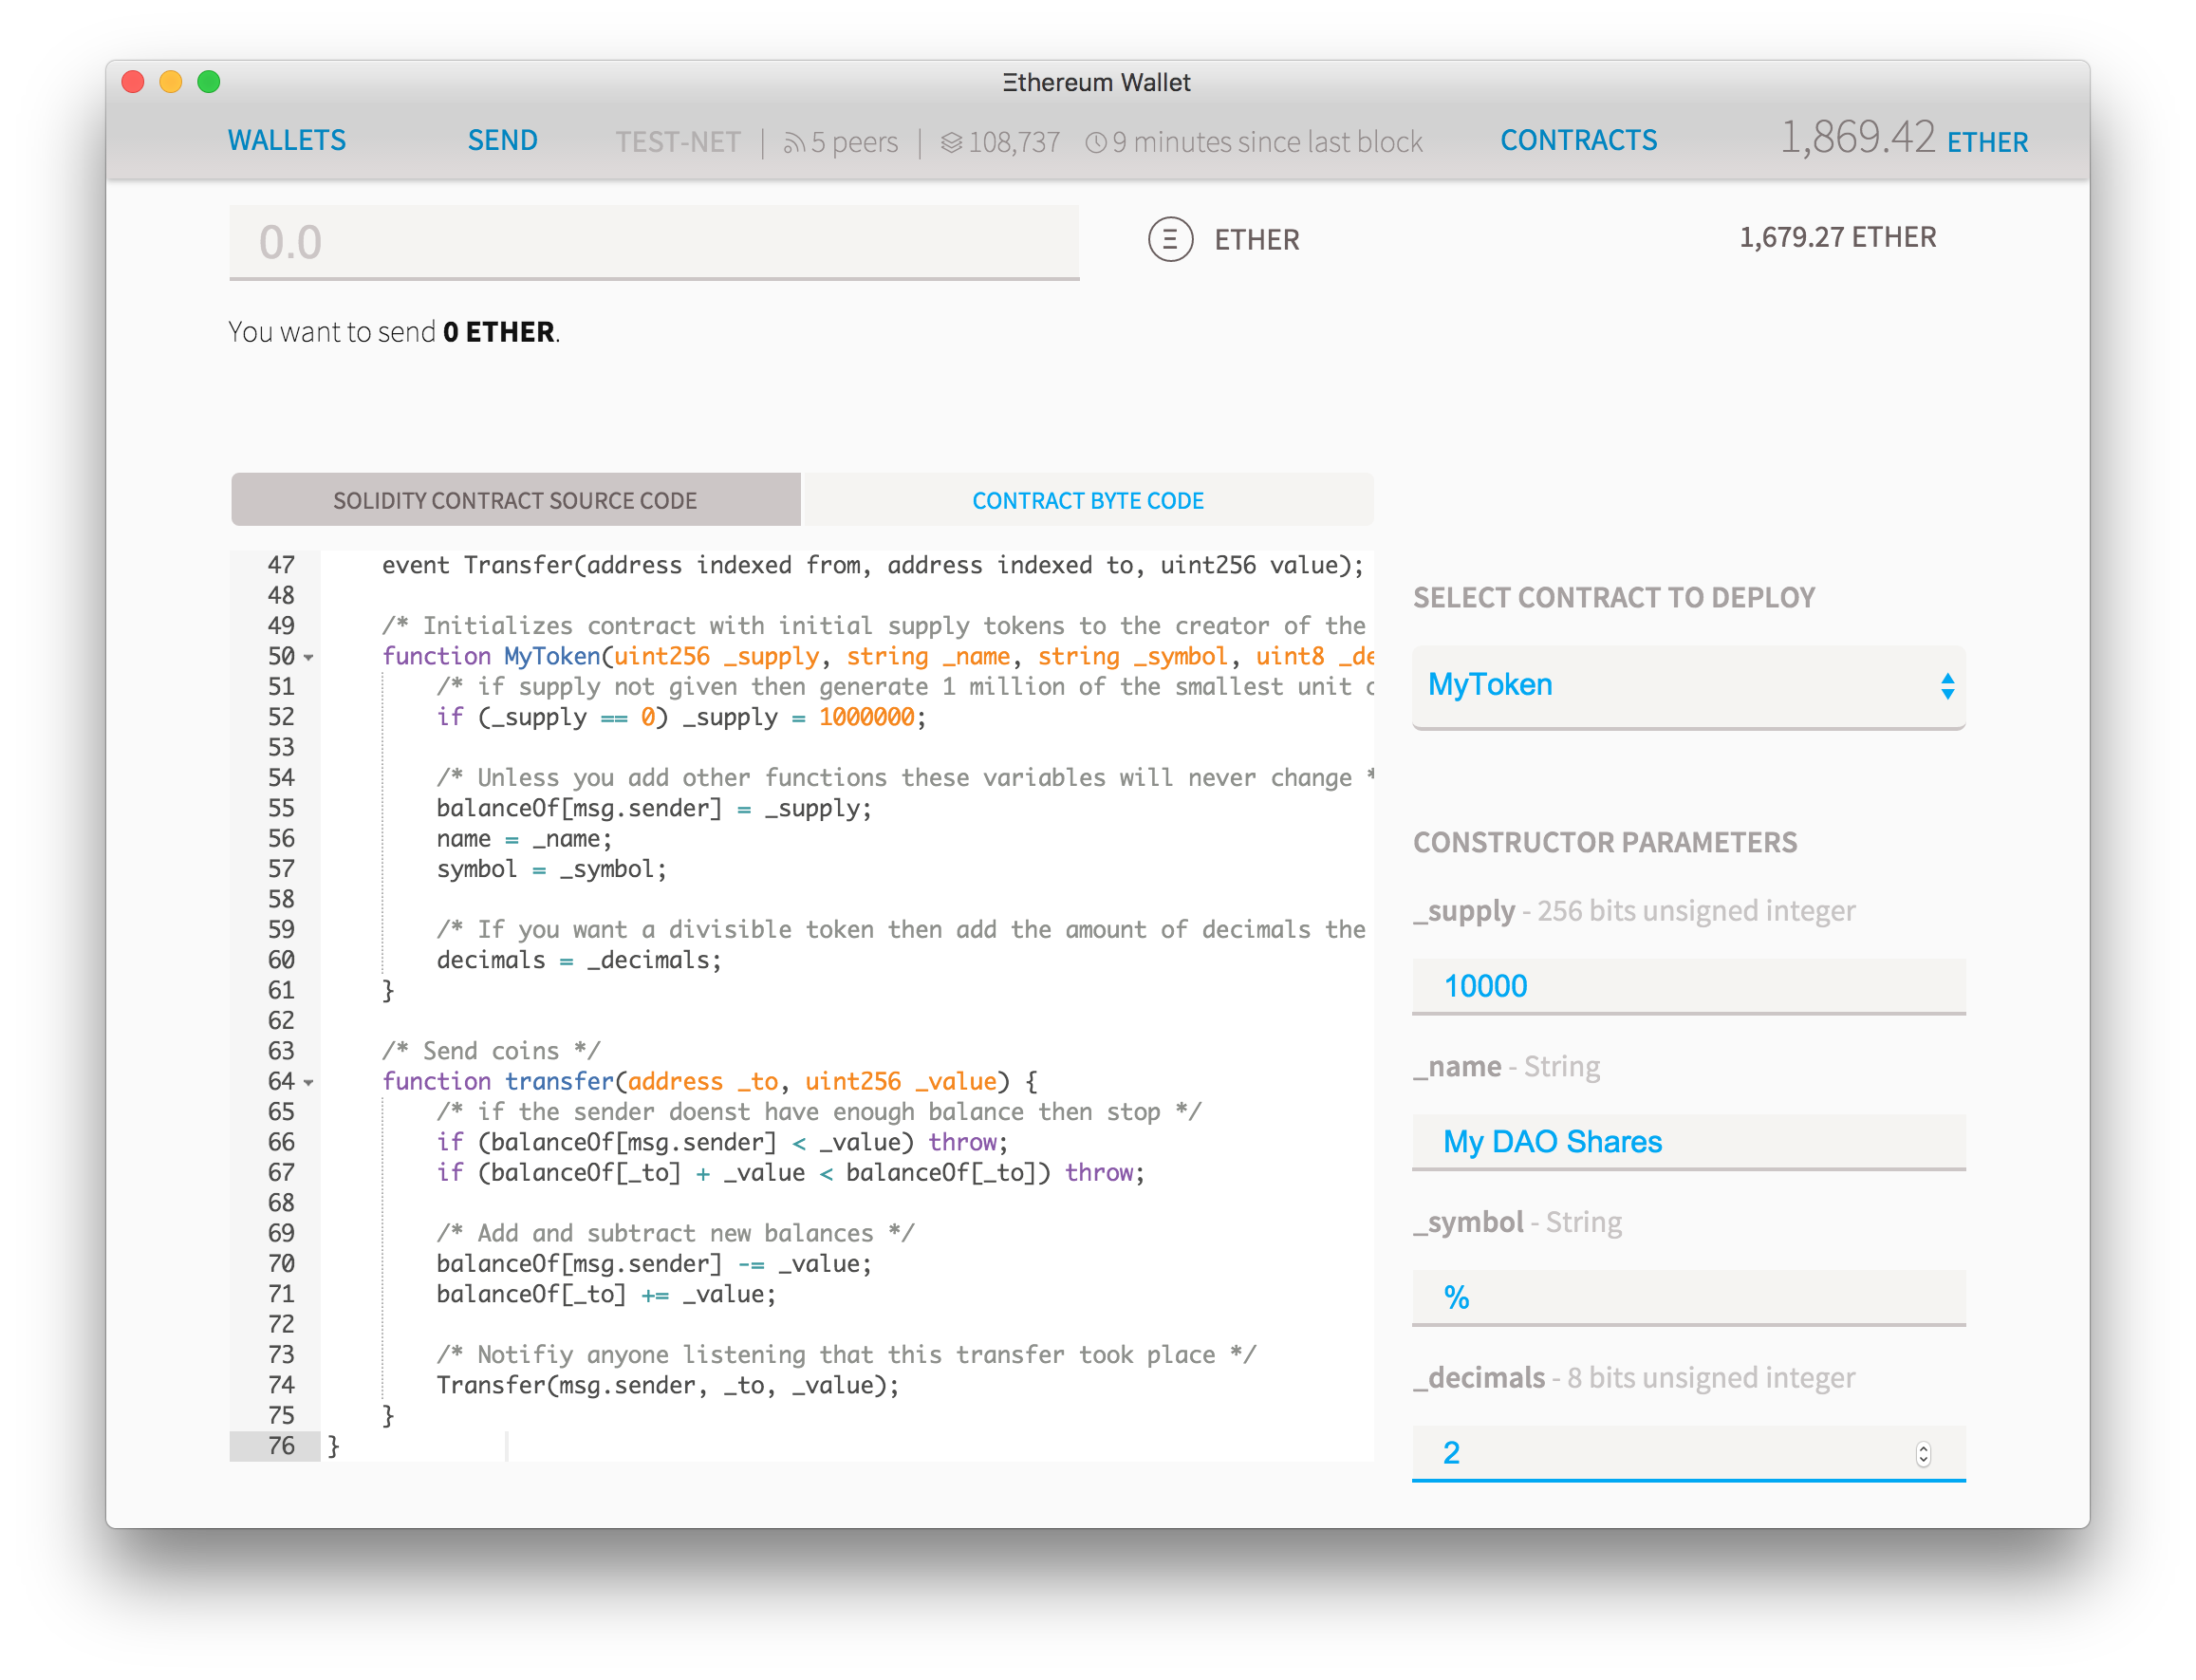
Now get the token code from here and paste it into the “Solidity source field”. If the code compiles without any error, you should see a “pick a contract” drop down on the left. Get it and select the “MyToken” contract. On the right column you’ll see all the parameters you need to personalize your own token. You can tweak them as you please, but for the purpose of this tutorial we recommend you to pick these parameters: 10,000 as the supply, any name you want, “%” for a symbol and 2 decimal places. Your app should be looking like this:
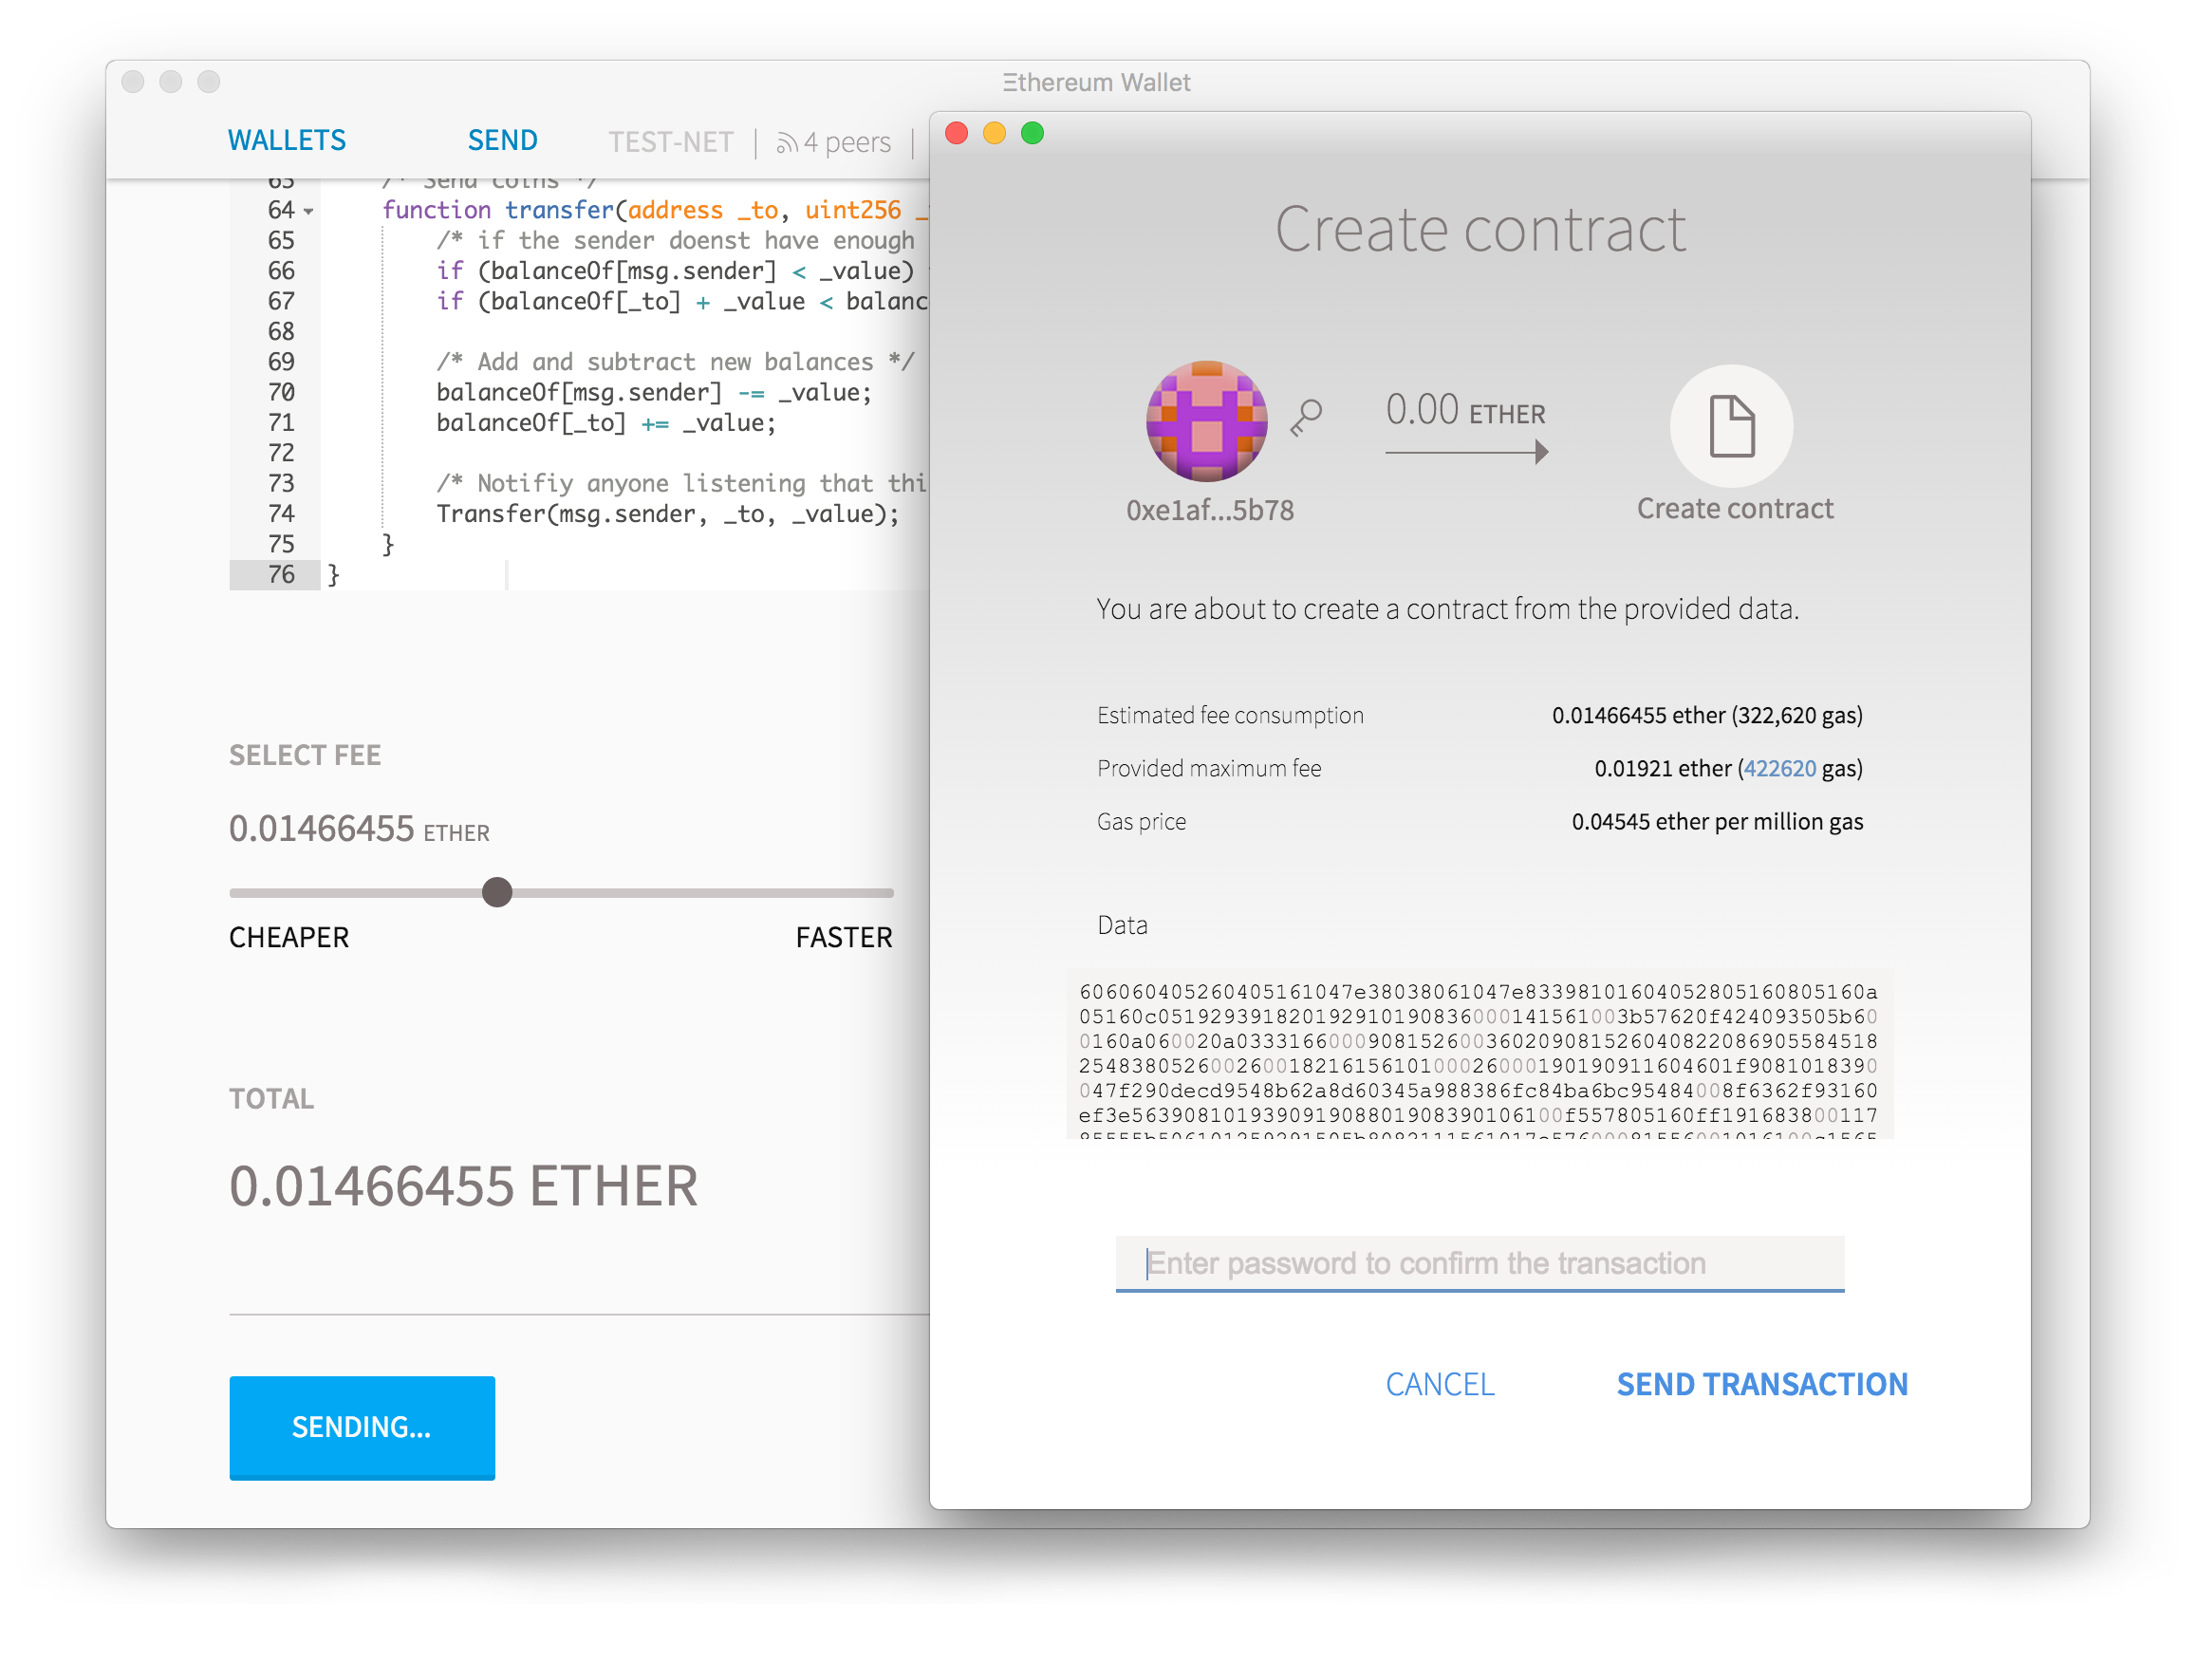
Scroll to the end of the page and you’ll see an estimate of the computation cost of that contract and you can select a fee on how much ether you are willing to pay for it. Any excess ether you don’t spend will be returned to you so you can leave the default settings if you wish. Press “deploy”, type your account password and wait a few seconds for your transaction to be picked up.
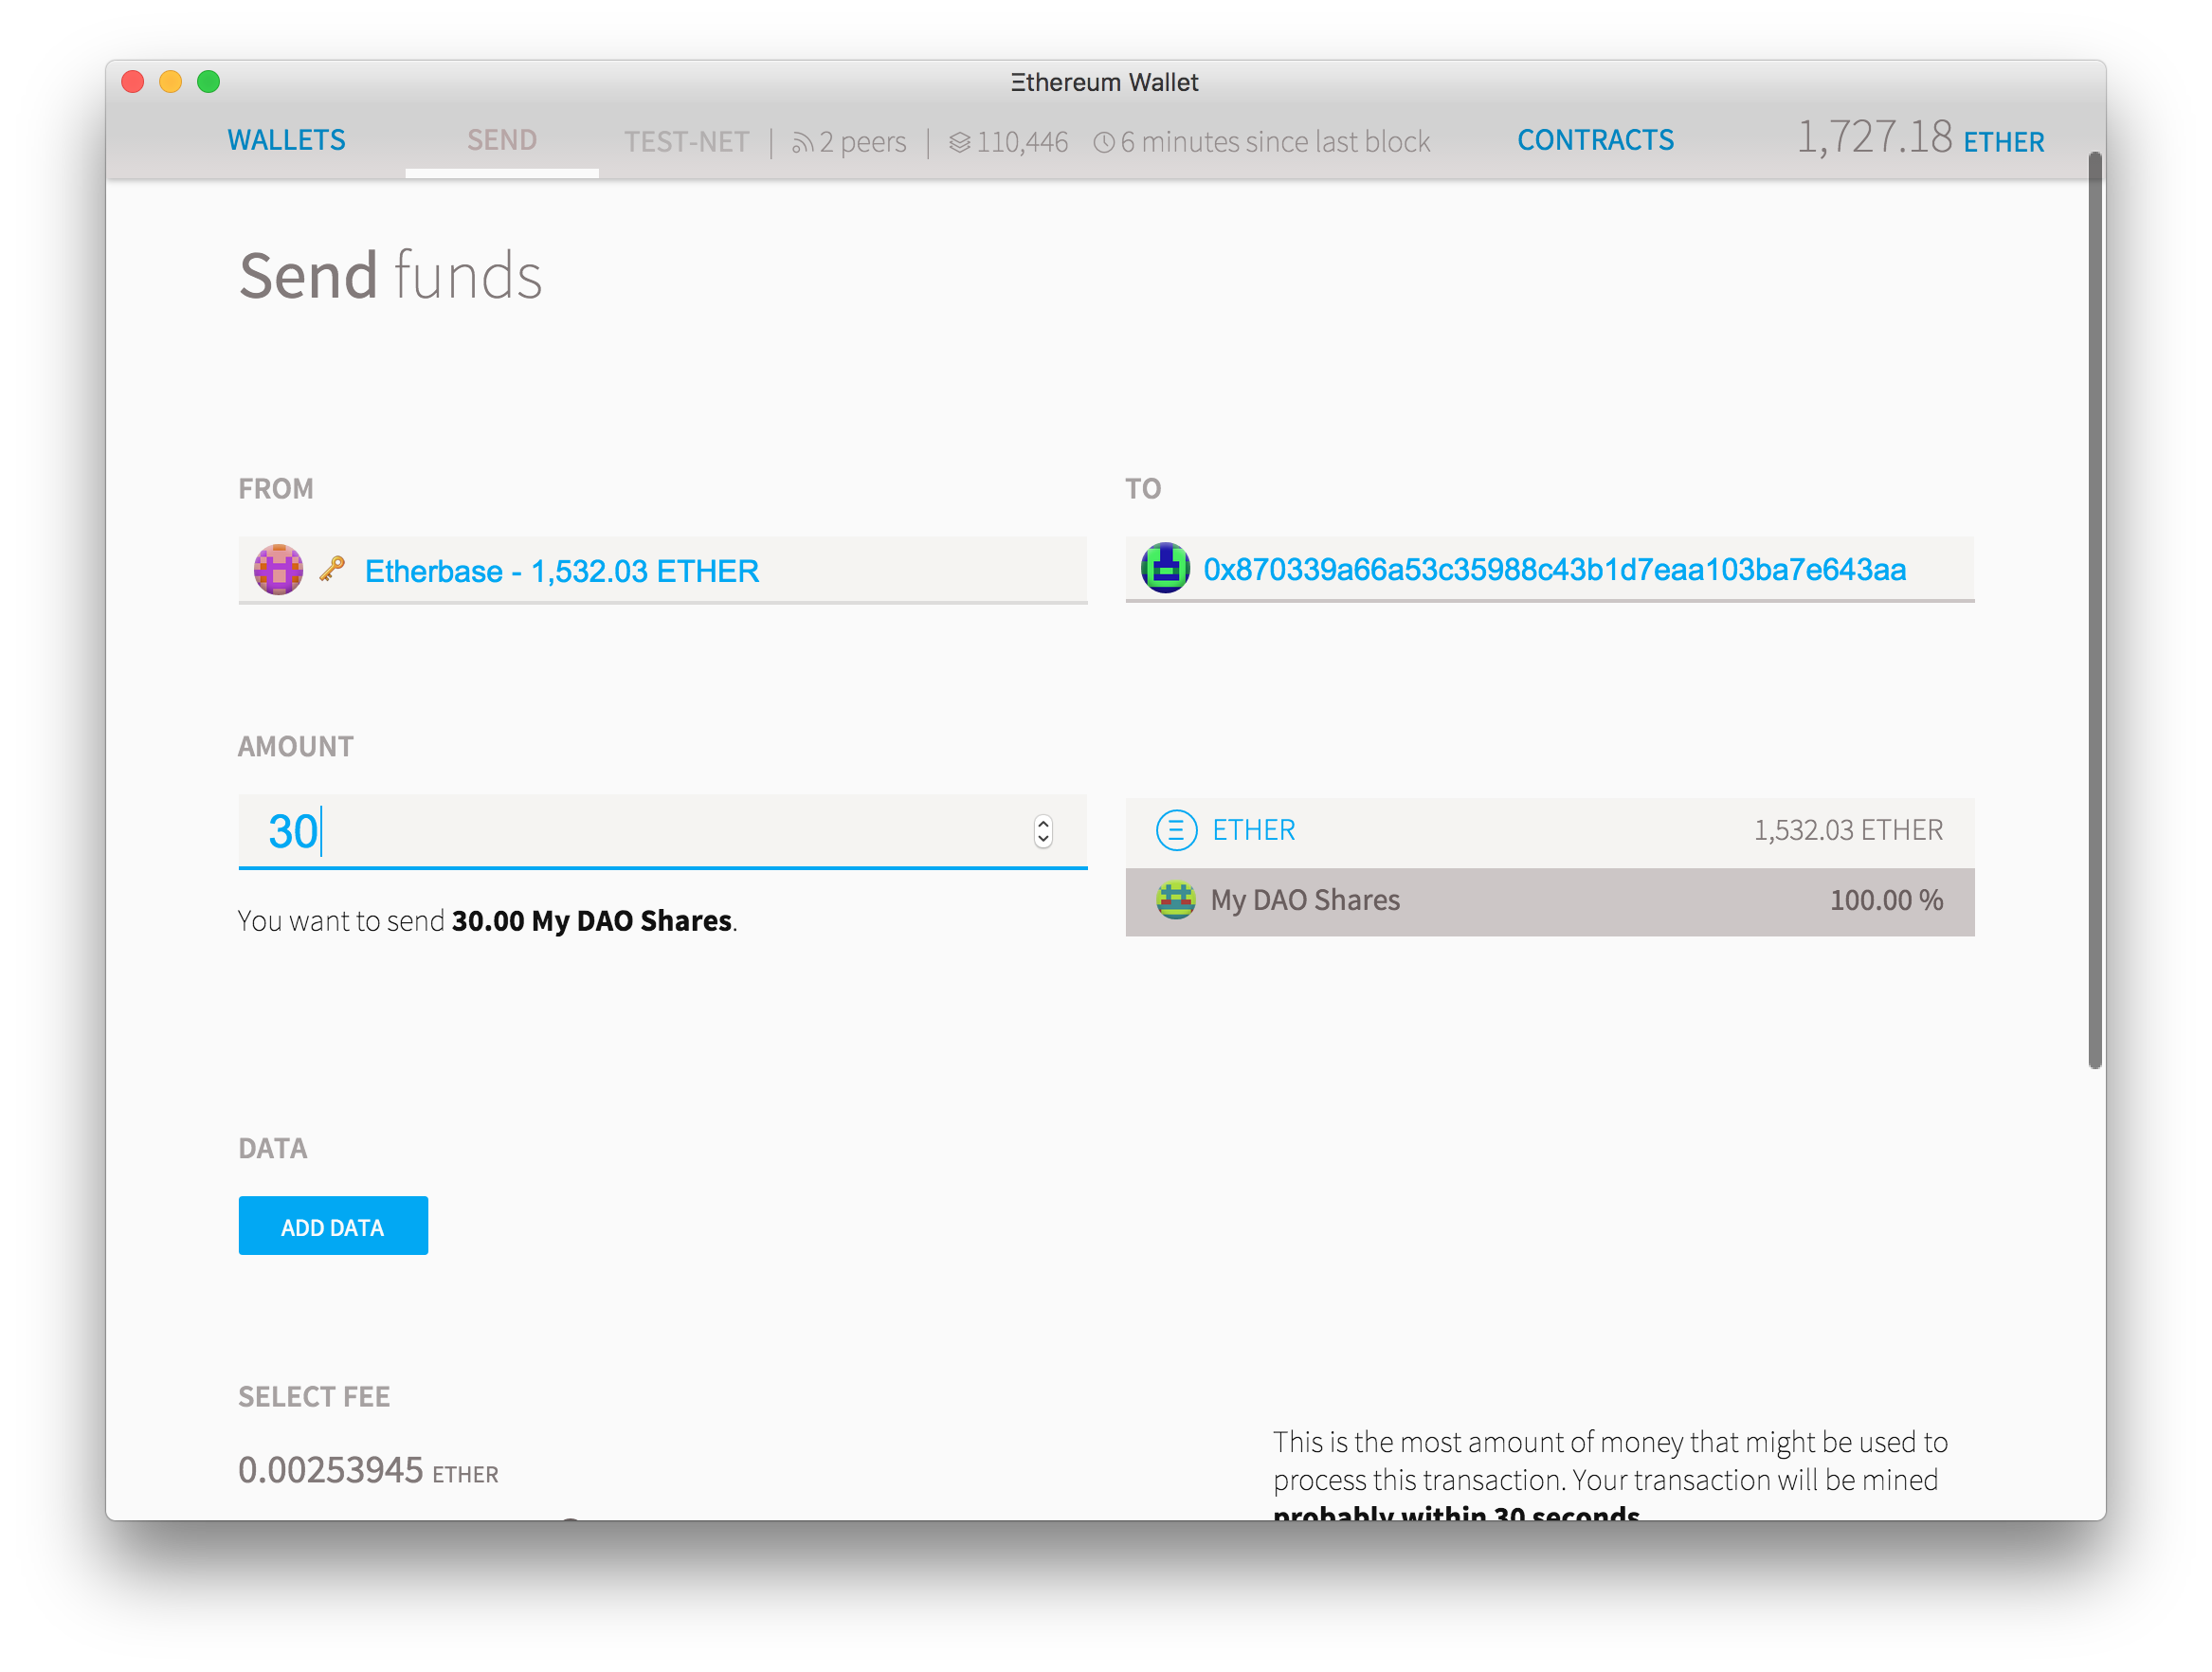
You’ll be redirected to the front page where you can see your transaction waiting for confirmations. Click the account named “Etherbase” (your main account) and after no more than a minute you should see that your account will show that you have 100% of the shares you just created. To send some to a few friends: select “send”, and then choose which currency you want to send (ether or your newly created share), paste your friend’s address on the “to” field and press “send”.
If you send it to a friend, they will not see anything in their wallet yet. This is because the wallet only tracks tokens it knows about, and you have to add these manually. Now go to the “Contracts” tab and you should see a link for your newly created contract. Click on it to go to it’s page. Since this is a very simple contract page there isn’t much to do here, just click “copy address” and paste the contract address on a text editor, you’ll need it shortly.
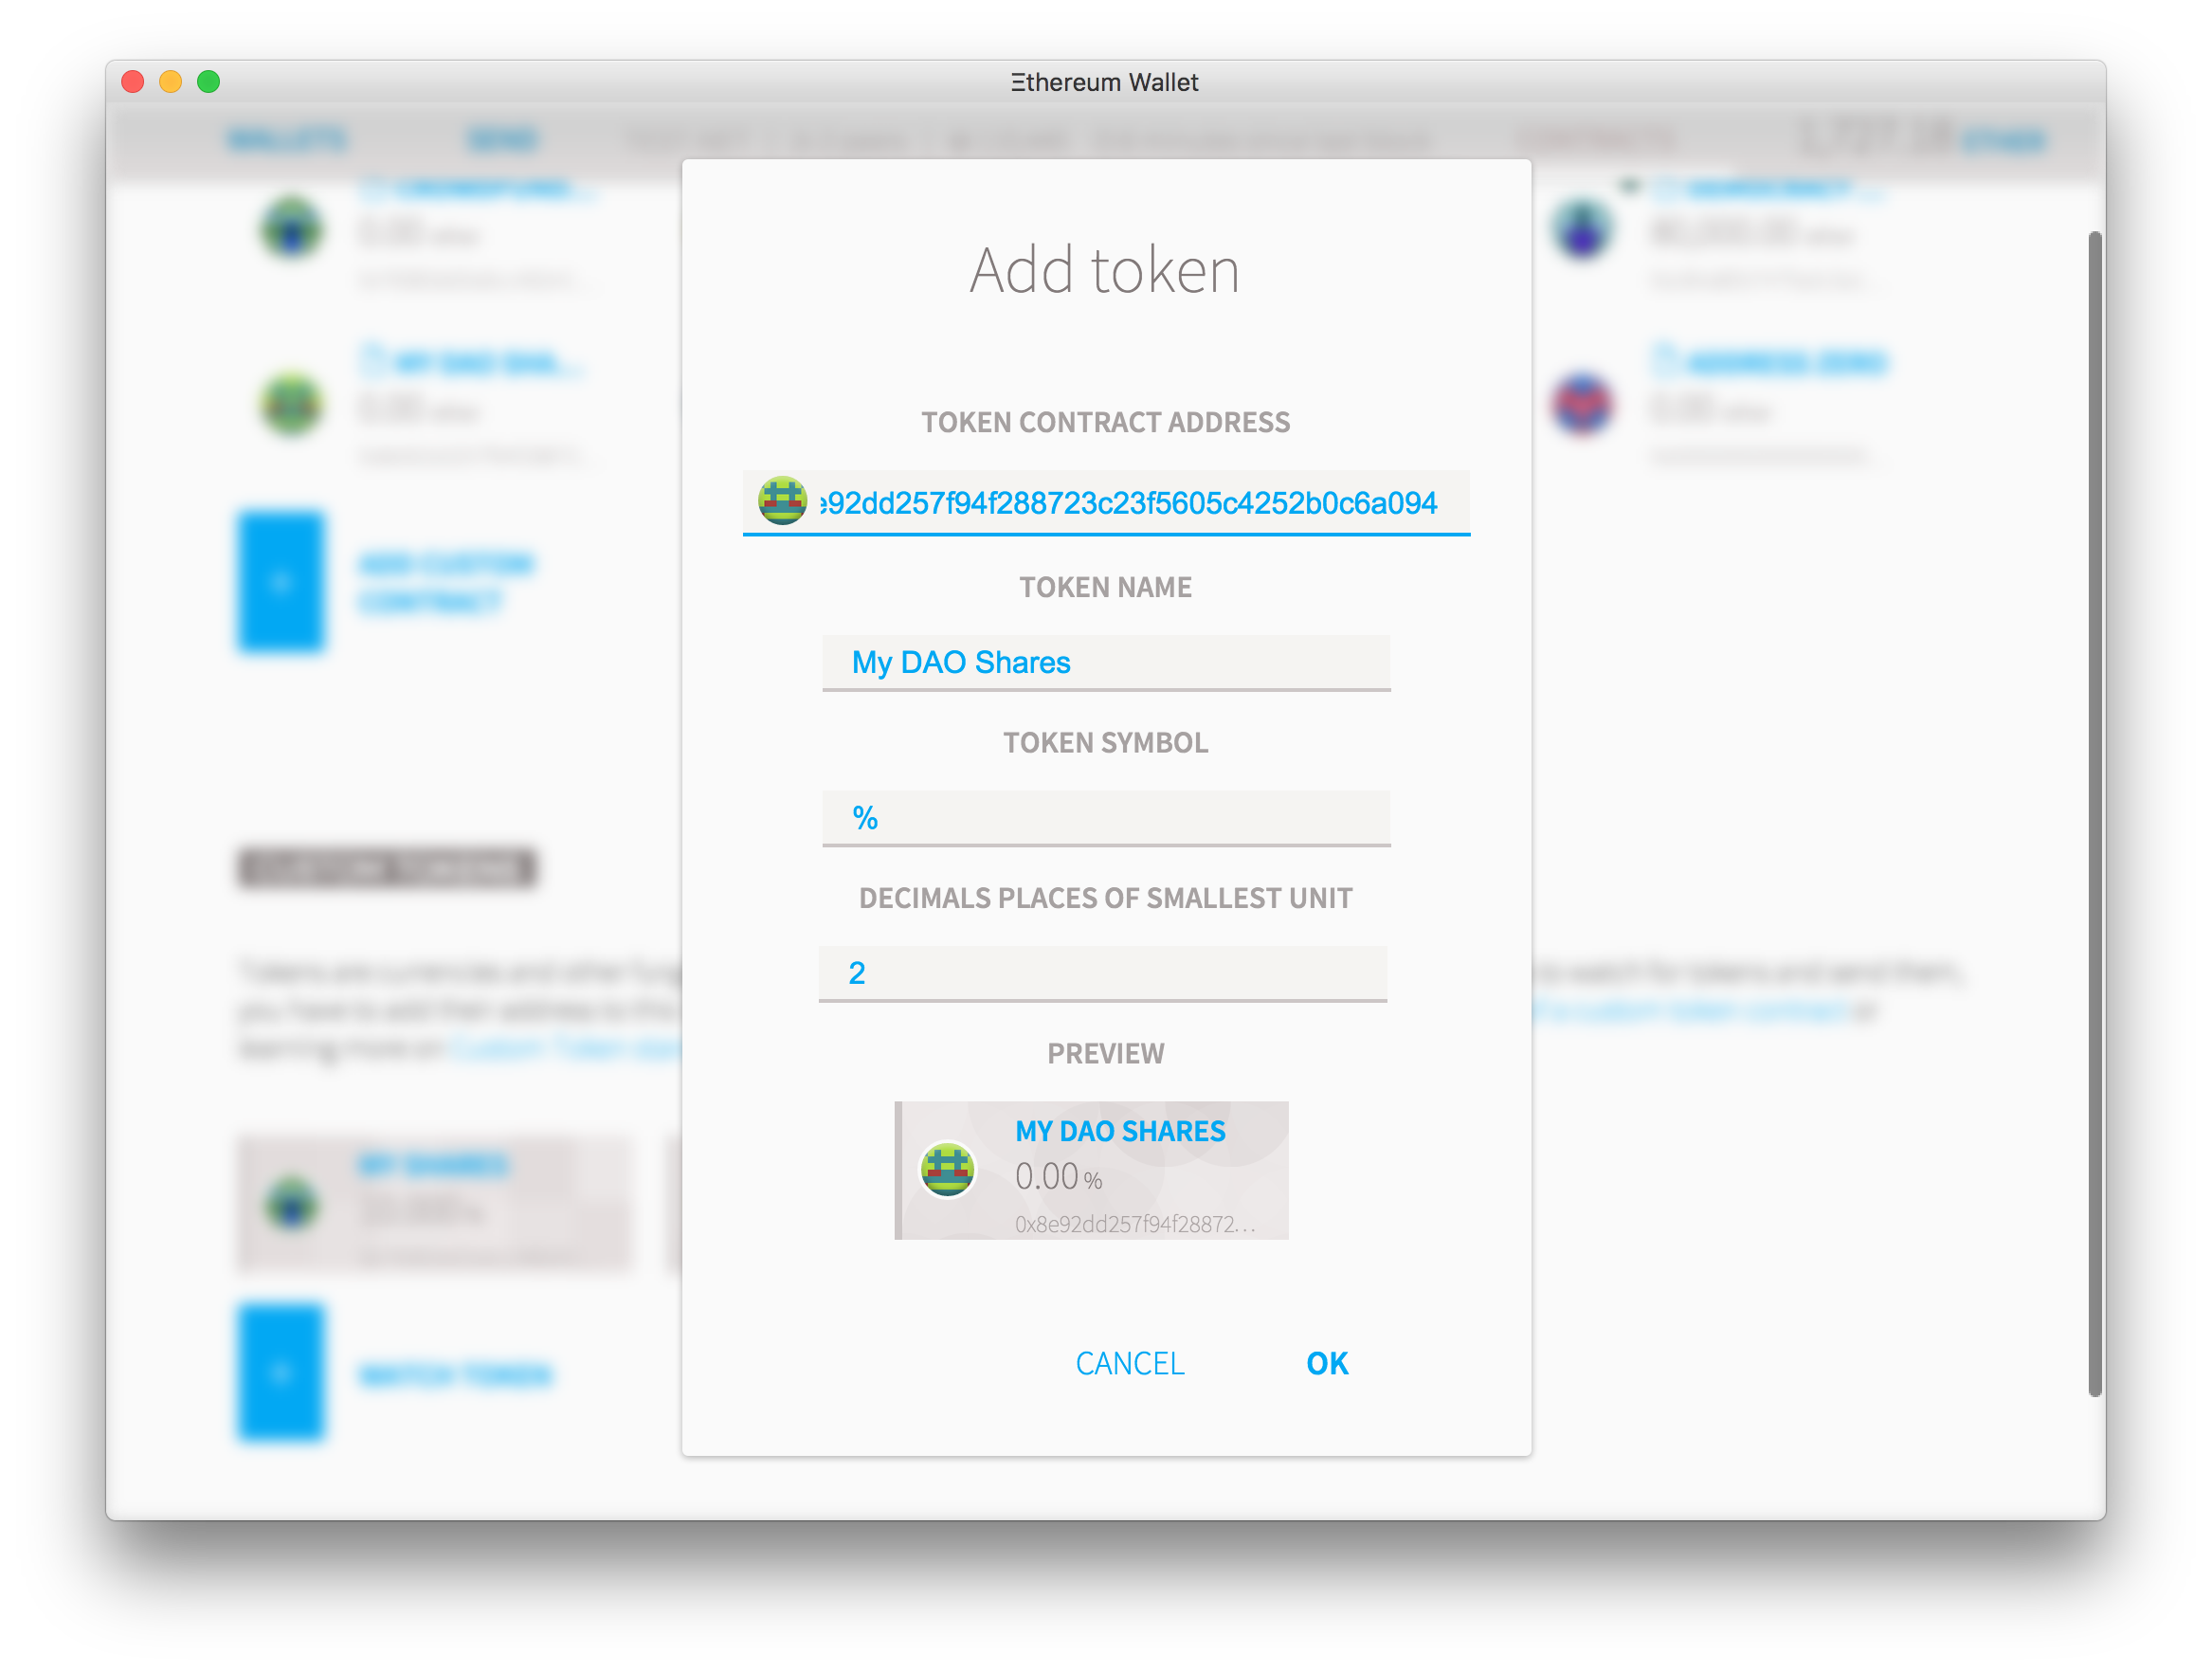
To add a token to watch, go to the contracts page and then click “Watch Token”. A popup will appear and you only need to paste the contract address. The token name, symbol and decimal number should be automatically filled but if it’s not you can put anything you want (it will only affect how it displays on your wallet). Once you do this, you’ll automatically be shown any balance you have of that token and you’ll be able to send it to anyone else.
And now you have your own crypto token! Tokens by themselves can be useful as value exchange on local communities, ways to keep track of worked hours or other loyalty programs. But can we make a currency have an intrinsic value by making it useful? Tomorrow we’ll show how tokens can be used as voting system in order to make collective decisions on the use of funds by creating a Democratic Autonomous Organization.
